Monday, September 30, 2013

Purse Sized Mini Calendar by Michelle


Michelle Giraud wanted to design a 2014 purse sized calendar with pockets for notes, receipts, pictures, etc.... so she used SRM's 3 3/4" x 6 1/4" Glassine Bags as the pages.  


First she lined up the pages and glued them together on the left side with a very thin line of glue. Michelle just wanted it to hold together when she stitched it.  Then she cut the covers to fit over the front and back with enough room for a fold over flap at the top to cover the opening of the pockets.  The front cover measures 3 7/8" x 6 7/8".  For the back she added about 2" to the length then added an embellished edge.  Once all the layers were lightly glued together she sewed them on her machine.  It took a little bit to get the needle started, but luckily enough it did go through all 14 layers!

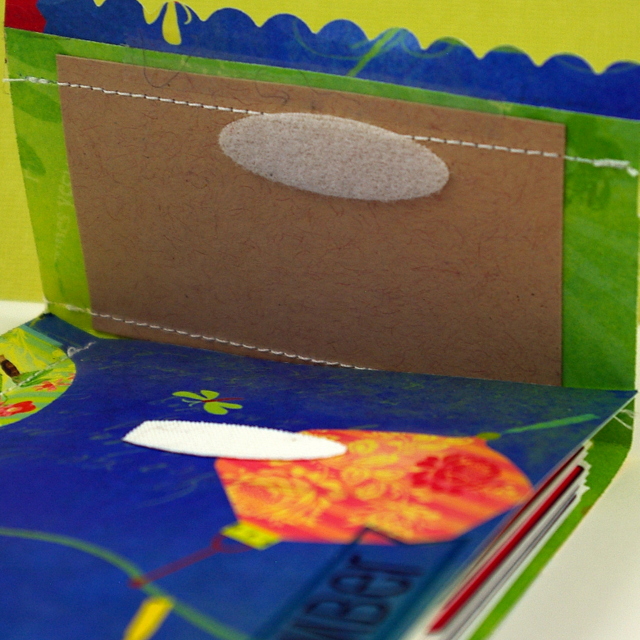
Michelle added a little velcro to hold the top flap down and reinforced it with stitched on cardstock so it holds in place.  She decorated the front with a 2014 Year of Memories sticker, a strip of Black Sticker Stitches and a sentiment from SRM's Calendar Companion


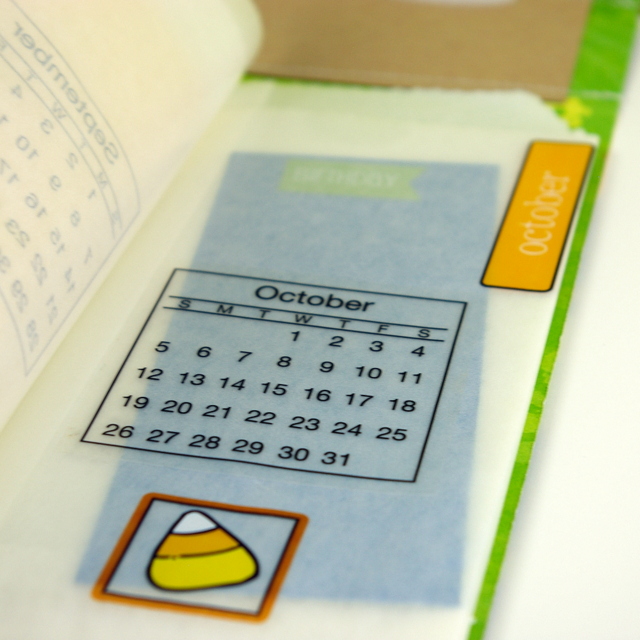
The inside pages each have a larger month sticker and a little square image sticker, both from Calendar Companion.  Michelle also used the 2014 Standard Mini Calendar for the month on each page.  She likes how the glassine envelopes let you see the notes inside the pocket.  Just think how cute it will be once she fills it in and adds some pictures as well. 


Love the card stock inside where you can jot down Birthdays for that month.


Love the images on each page that coordinates with the month.  SRM's Calendar Companion is perfect for this project.


And here are all of the pages all lined up inside the holder that Michelle created.  How fun!


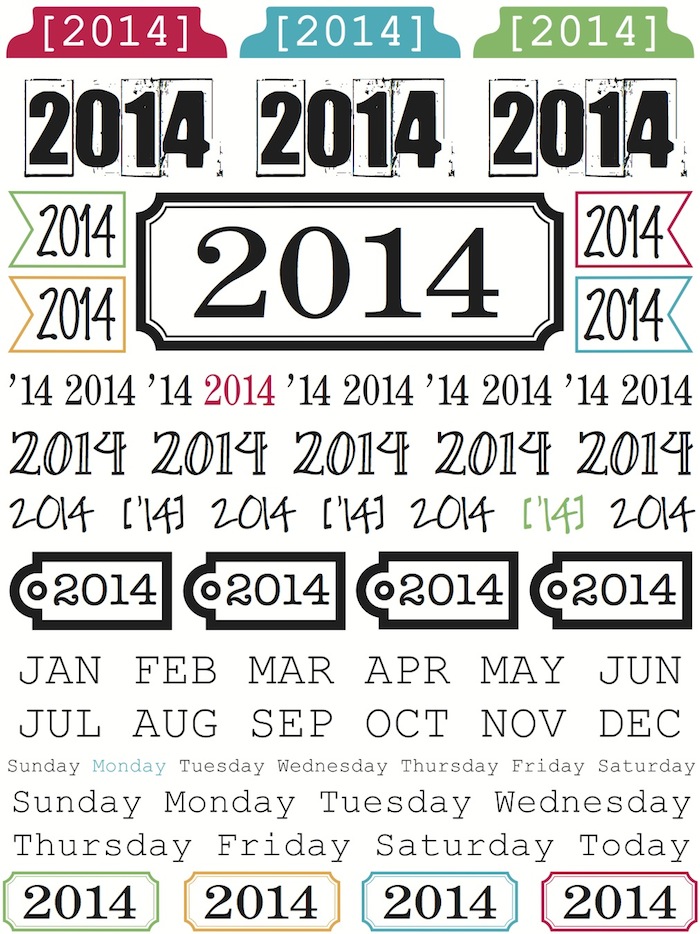
Here are the 3 SRM Stickers that Michelle used on her project.  


What a perfect gift this project would make for friends, family, teachers or co-workers.  Time to get started on creating Christmas gifts, don't you think?

Friday, September 27, 2013

Christmas Buffett Markers by Corri


Welcome to day #5, the final day of Holiday week here on the SRM Blog.  Planning holiday meals?  Corri Garza has the perfect idea for your holiday table.  

Corri Garza made some simple buffet markers to be used at her annual family Christmas Eve dinner.  She hosts about 40 guests with tons of different dishes and these buffet markers are just perfect. 


Corrie created these with some Chalk Stock from Canvas Corp although you could also use black cardstock. Corri used SRM's Sticker Stitches and We've Got Your Border - Christmas to dress them up.  


Here are the simple instructions so you can make them too:  

1. Cut card stock at 3-1/2" high x 4" wide and score at 1-3/4.
2. Fold and crease well.
3.  Trim borders to 4" wide and adhere to base.  

And here are just a few of the many buffet markers that Corri will be making. 
LOVE the white Sticker Stitches as decorations for the borders of each marker.


Simply delicious!  

These are so quick and easy to make and could also be used as place cards for the dinner table. 

Thursday, September 26, 2013

Mini Christmas Stockings by Ann


Welcome to day #4 of Holiday week.  Today we are excited to share some Christmas projects that are sure to become family treasures! 

Ann Molvik loves these darling little ornaments knitted with Twinery Twine.  She's created one of them for each of her 5 children for Christmas.  So quick and easy to make, they use less than 15 yards per ornament to make.  And wouldn't they be perfect for on a Christmas tree or on top of a package? Ann used Twinery Twine in Marischino Baker's Twine, Pea Pod Baker's Twine and Solid Natural. 


Here's  the pattern Ann used:
http://littlecottonrabbits.typepad.co.uk/free_knitting_patterns/2007/06/knitted_mini_ch.html


Who knew that twine could be so fun for knitting?  Never too early to get started on sweet little treats for Christmas.  Thanks Ann for all the inspiration!  These are simply adorable!

Wednesday, September 25, 2013

Fancy Christmas Ornaments by Juliana


Welcome to day #3 of Holiday Week on the SRM Blog.  Today we shift to Christmas projects.  

Juliana Michaels has created these beautiful Christmas ornaments using patterned paper, a free digital cutting file, die cuts, jewels and glitter glue.  She then simply added a couple elegant SRM Stickers from the Fancy Christmas Sentiments sheet to complete the look.  A length of The Twinery's Gold Shimmer twine was attached to the backside of the ornament to be used as a hook with which to hang it.

What a wonderful gift these Christmas ornaments would make!


Here's some close ups so you can see all the details. 


SRM's Fancy Christmas Sticker Sentiments have so many different sizes and shapes of sentiments that could be use on ornaments of various sizes and shapes.


The Fancy Sticker Sentiments, Gold Shimmer Twine and red jeweled bling are a perfect combination for Juliana's project. 


Thanks for the inspiration Juliana.  CASing your Christmas ornaments is on my To Do list! :)

Tuesday, September 24, 2013

Halloween Treat Set by Latrice

Welcome to Day #2 of Holiday Week where SRM Design Team members give you great ideas and a head start on holiday projects.  

Latrice Murphy loves giving a little something special for each holiday and Halloween is no exception. Leaving this little treat for her kids will be such a great surprise to them.  She'll fill the glassine bag with their favorite sweet treat.  They don’t get too many sweets other than on special occasions so they’ll love this.  It took Latrice just a short time to cut a few strips of paper and add some gemstones to make something fun. 


Materials needed:
White cardstock
Patterned paper
Gemstones
Colored cardstock
ribbon
Washi tape
Circle punches
SRM stickers, pencils & glassine bag

SRM materials needed: 

Love how bold and bright this banner is on the glassine bag.  Such a great contrast to the doily.


SRM Stickers and Containers are a perfect match.  Just add some ribbon and bling and you are good to go!


Want to make this project?  Here are the directions for treat bag: 
1. Start by choosing you patterned paper and cardstock to create the large banner piece on the glassine bag. 
2. Layer the pieces on top of one another along with a paper doily. 
3. Adhere your stickers and gemstone. 
4. Next adhere three Halloween circle stickers to white cardstock, punch them out with circle punches and adhere with 3D squares. 
5. Finish the glassine bag off with a couple lines of sticker stitches, add your treat and seal with washi tape. 

Directions for Pencil box:
1. Start by folding your box and adding sentiment pencils inside. 
2. Next choose sticker sentiments to add to the full length of the box. 
3. Using one of the square sticker shapes create a 3D embellishments. 
4. Finish off with coordinating ribbon and gemstones. 

Latrice said "It truly was easy and fast. Not to mention really fun to make. I love flawless these stickers are on paper. It looks like I printed them onto the paper and box. LOVE that!"

We love what you've done with SRM Stickers and Containers Latrice.  So adorable and so easy!  Now that's a winning combination.